How to accept support chats from MS Teams on Chime V5
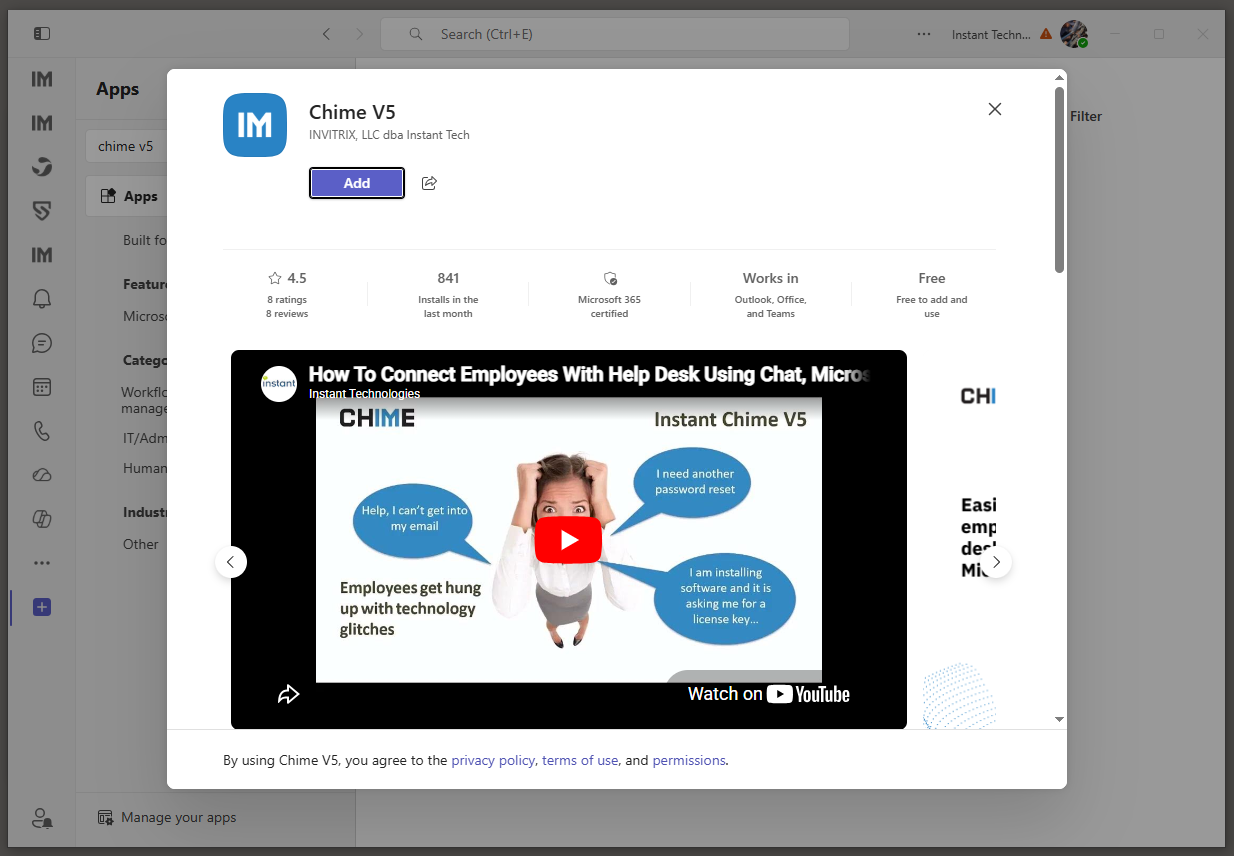
Step 1 - Add Chime V5 to your Microsoft Teams
You can find Chime V5 from Microsoft Teams Store here: https://marketplace.microsoft.com/en-us/product/office/WA200005569
The following is our full guide on how to install Chime V5 from MS Teams Store: https://www.chimev5.com/how-to-install-chime-v5
Step 2 - Start a chat from Chime V5 Teams App
While you have the Chime V5 open on your MS Teams, type a message and click send.
This will trigger a new chat session which you can view from your Chime V5 Web App Tenant.
Step 3 - Login to your Chime V5 Web App Tenant
Open Chrome or Microsoft Edge, and navigate to your Chime V5 Tenant.
Your tenant URL should look something like this https://app.imchime.com/tenant_name.
IMPORTANT: Once you’ve logged in, click the profile dropdown, and navigate to Agent Dashboard.
Step 4 - Accept chat from Chime V5 Agent Dashboard
While in agent dashboard, you will see chats that are waiting to be accepted.
You should see the support chat you started from your Microsoft Teams here, in the Agent Dashboard.
To accept the chat, please click the accept chat button.
Step 5 - Reply to test chat from the agent web client
Clicking the accept chat button will open the Chime V5 agent web client (screenshot below).
You can use the agent web client to answer questions from end user’s coming from Microsoft Teams.
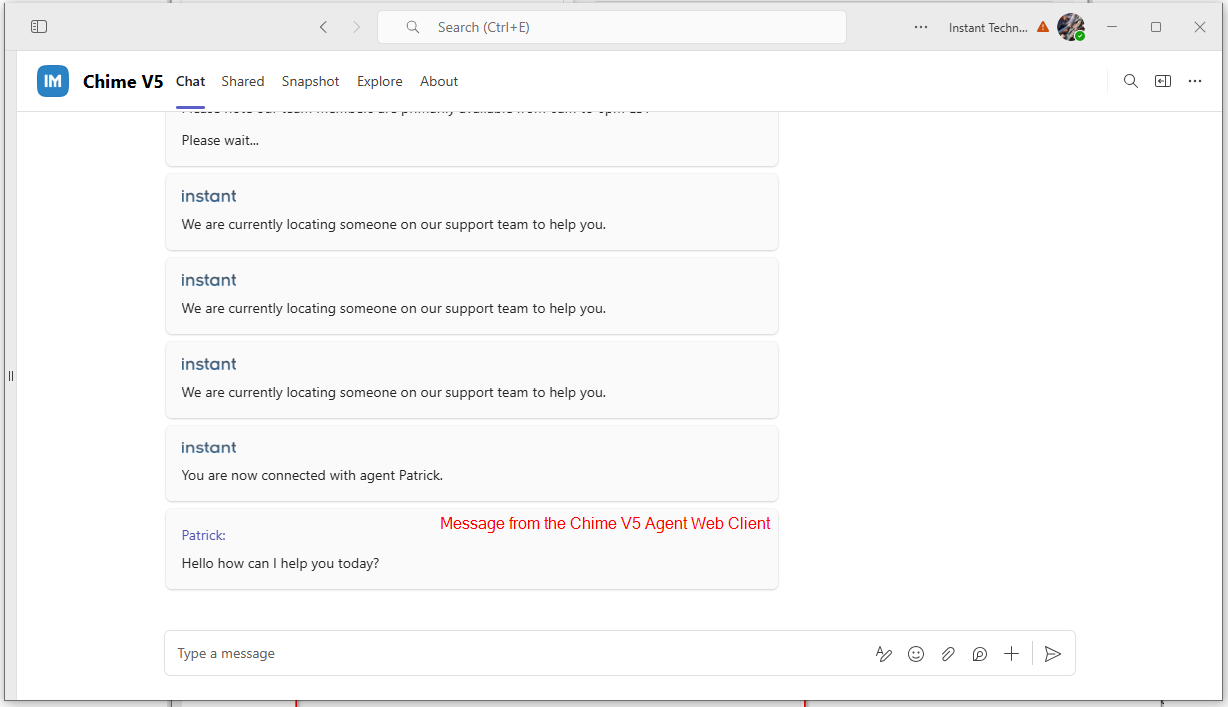
On your Microsoft Teams, where you are simulating an end user, you should see the message sent from the agent web client.